If you’ve never built a home before, the process can feel overwhelming before it even starts. What actually happens between signing a contract and getting your keys? How long does each phase take? What decisions do you need to make and when? This post walks you through the home building process from start to finish so you know exactly what to expect.
The Home Building Process — Step by Step
Step 1 — Initial Consultation
Everything starts with a conversation. You sit down with your builder and talk through what you want to build — the type of home, your lot situation, your budget and your timeline. A good builder listens more than they talk in this meeting. They’re trying to understand your vision, not sell you on theirs.
At Western Legacy Homes this consultation is free. We’ll tell you honestly what’s realistic for your budget and timeline, what the process looks like from here and whether we’re the right fit for your project. No pressure, no obligation.
Step 2 — Floor Plan Selection or Design
If you’re building a semi-custom home you’ll choose from existing floor plans and work with your builder to customize the details. If you’re building a fully custom home this is where the design process begins — working through your layout, room sizes, flow and all the spatial decisions that shape how your home lives.
Chris Jones is a drafter who works directly with custom clients to take their vision from concept to blueprints. Whether you have sketches on a napkin, a Pinterest board full of ideas or a very specific vision — this is where it starts taking shape on paper.
Step 3 — Permitting
Before anything gets built your plans need to be submitted to the local building department and approved. Your builder handles this process — submitting the plans, responding to any questions and tracking the permit through approval.
In Chubbuck and Pocatello the building department is efficient and professional. Inspections are scheduled online and the process moves at a pace that doesn’t add unnecessary time to your project. Permit costs in Bannock County typically run $10,000-$20,000 depending on the size and scope of the build.
Step 4 — Site Preparation
Once permits are in hand the work begins on your lot. Site prep involves clearing the land, grading the site to the correct elevation and preparing for the foundation. Depending on your lot — flat vs sloped, soil conditions, existing vegetation — this phase can be straightforward or more involved.
Step 5 — Foundation
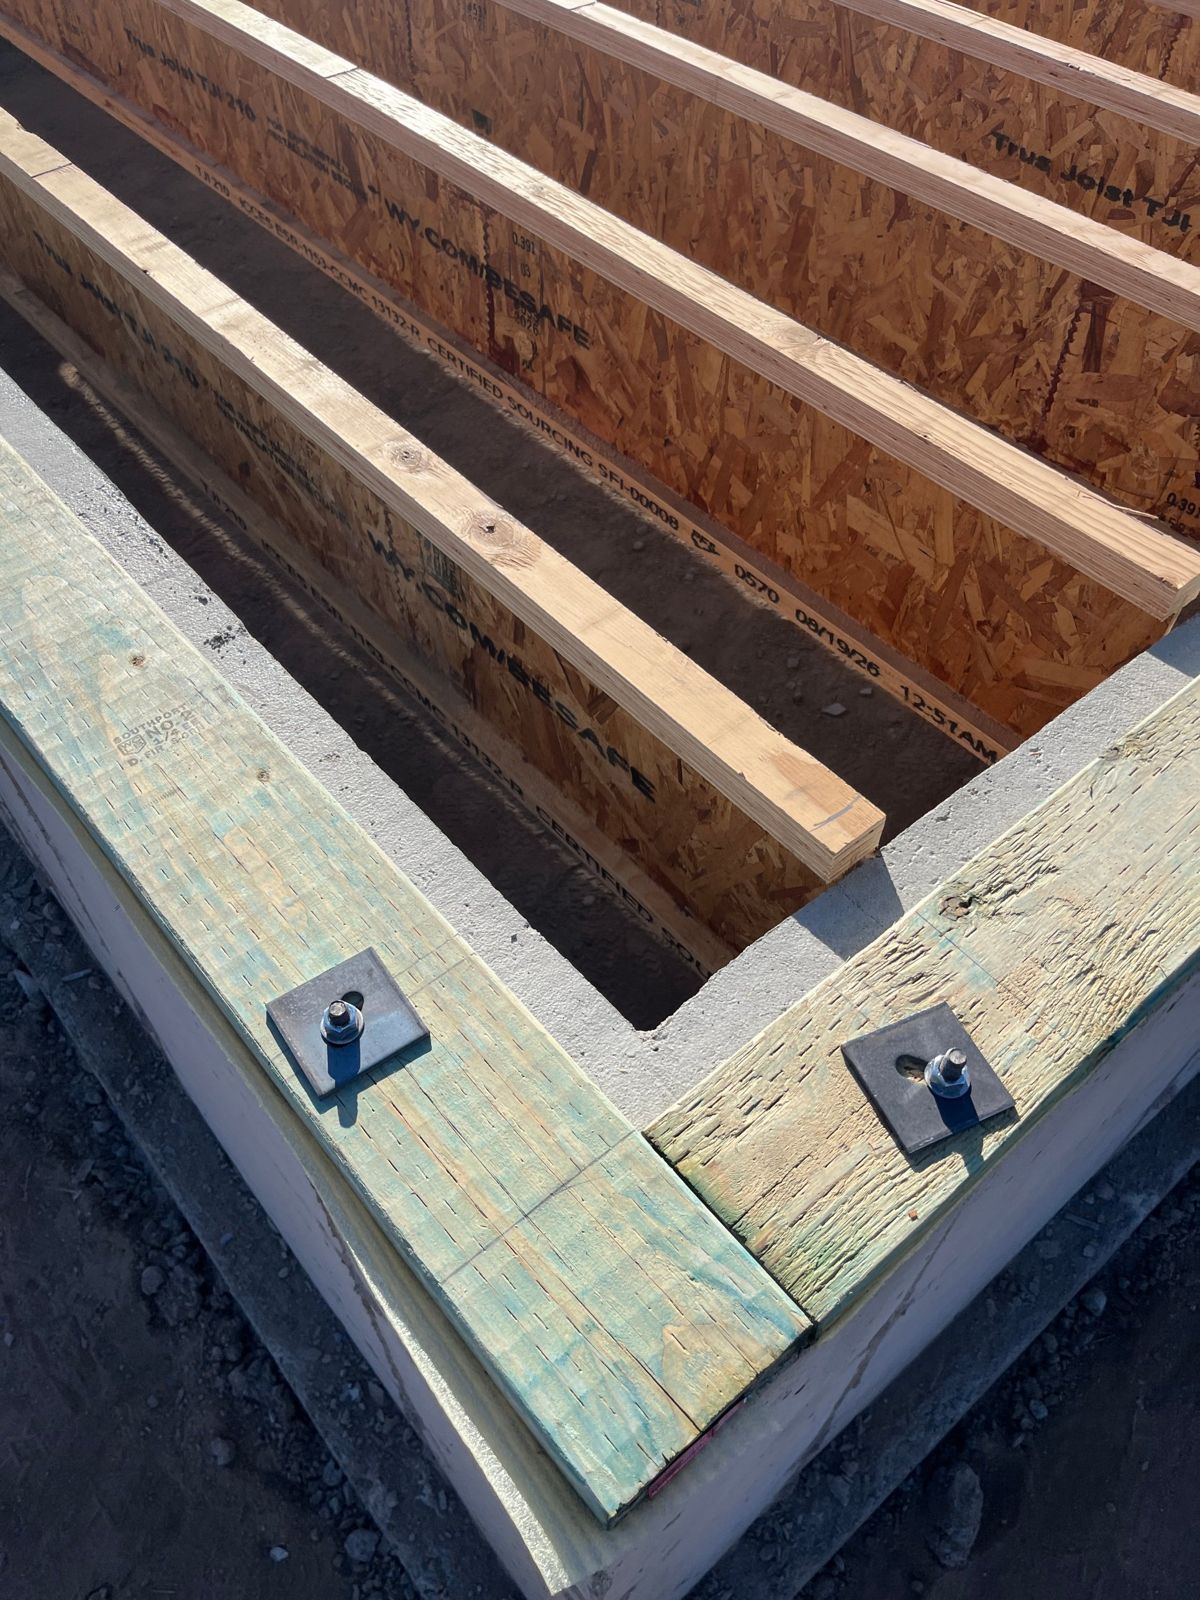
The foundation is the most critical phase of the build. Whether you’re pouring a slab, building a crawl space or excavating a full basement, this phase sets the stage for everything that follows. It needs to be done right — level, square and built to the specifications on the plans. This is not a phase to rush.
Step 6 — Framing
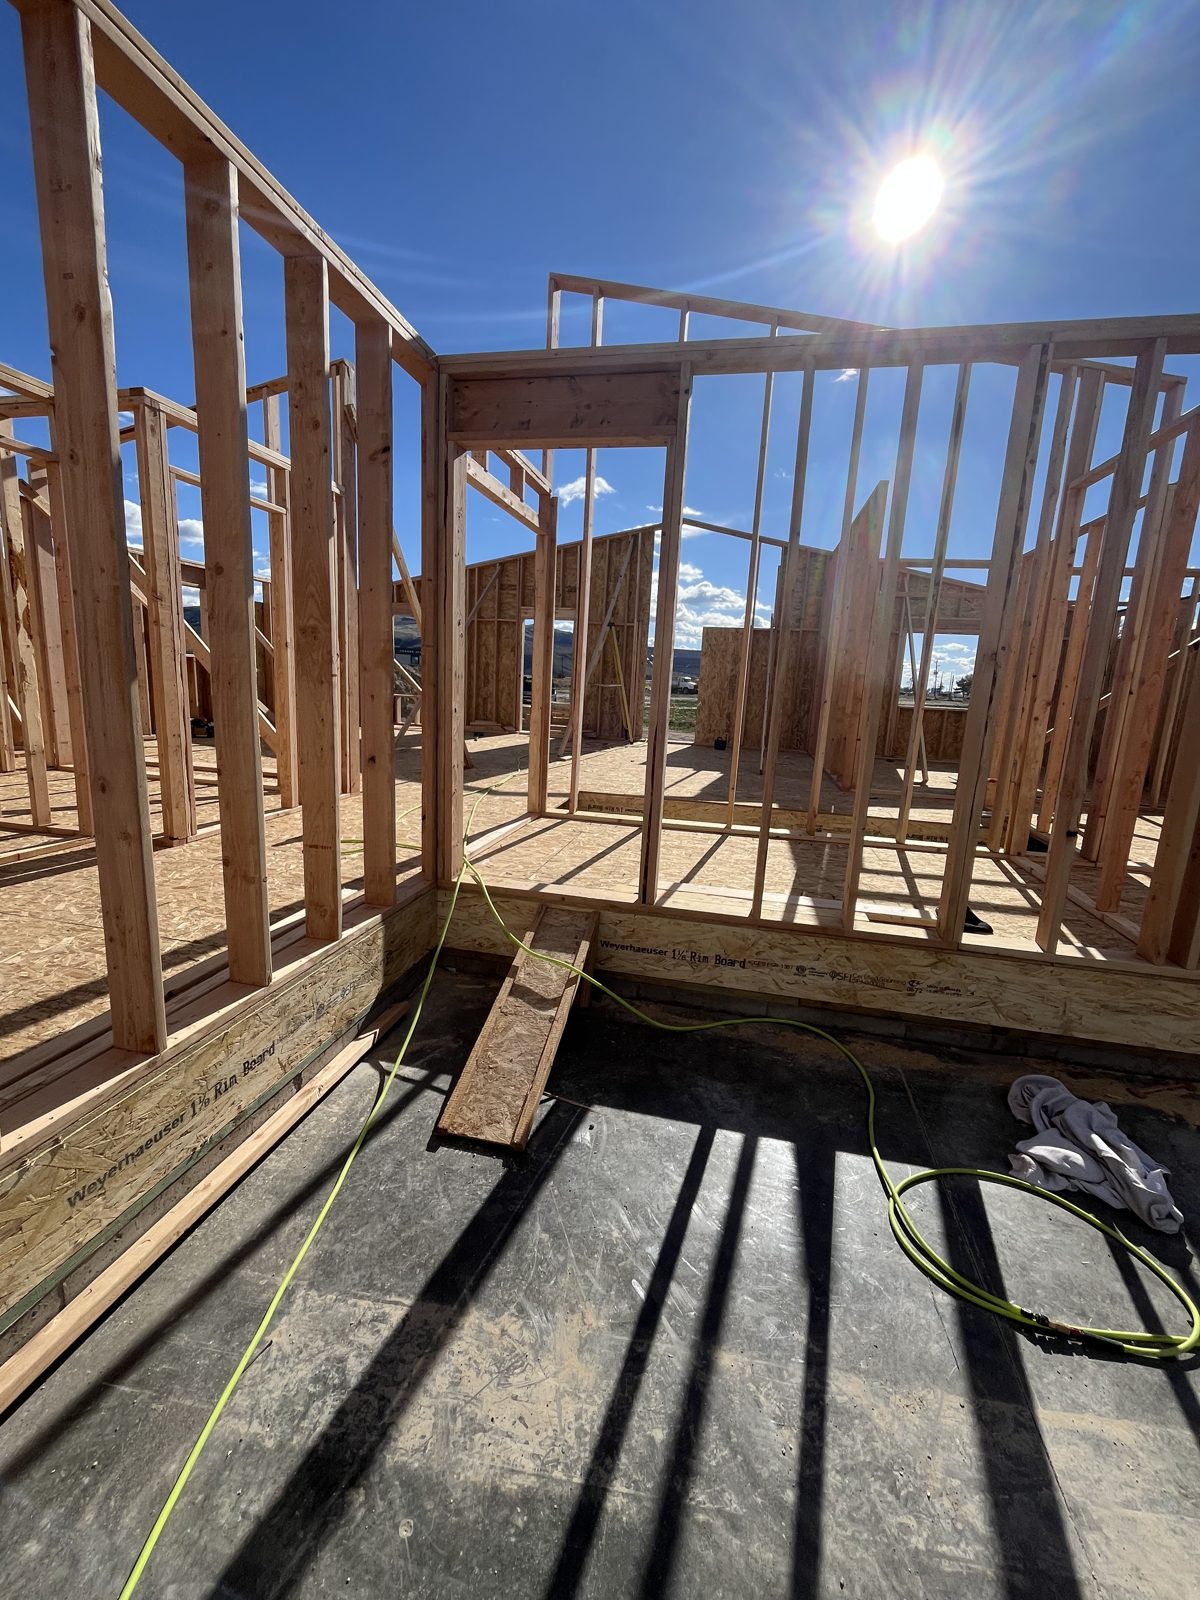
Framing is when your home starts to look like a home. Walls go up, the roof takes shape and for the first time you can walk through the actual spaces you designed. Most clients love this phase — it’s the most visual transformation of the entire build and it happens relatively quickly.
This is also the phase where any last-minute layout questions get resolved. Once walls are framed you can see exactly where everything is and confirm that what’s on paper works in reality.
Step 7 — Mechanical Rough-In
After framing comes the rough-in phase — plumbing, electrical and HVAC all go in before the walls are closed. This is also when important decisions get made about outlet placement, fixture locations, lighting layouts and anything else that lives inside the walls. Miss something here and fixing it later means cutting into drywall.
This is the phase where future planning matters. If you might want an EV charger in the garage, speaker wiring, extra circuits or anything else — now is when to add it. The cost before drywall is minimal. After drywall it’s a significant repair.
Step 8 — Insulation and Drywall
Insulation goes in after the mechanicals are inspected and approved. Then drywall — and the home starts to look finished for the first time. Walls become rooms. Spaces take on their final proportions. Most clients find the drywall phase exciting because the finish line suddenly feels real.
Getting a home closed in — roof on, windows and exterior doors in — before winter is important in Idaho. Once the home is closed in, interior work can progress through the cold months regardless of weather outside.
Step 9 — Finish Work
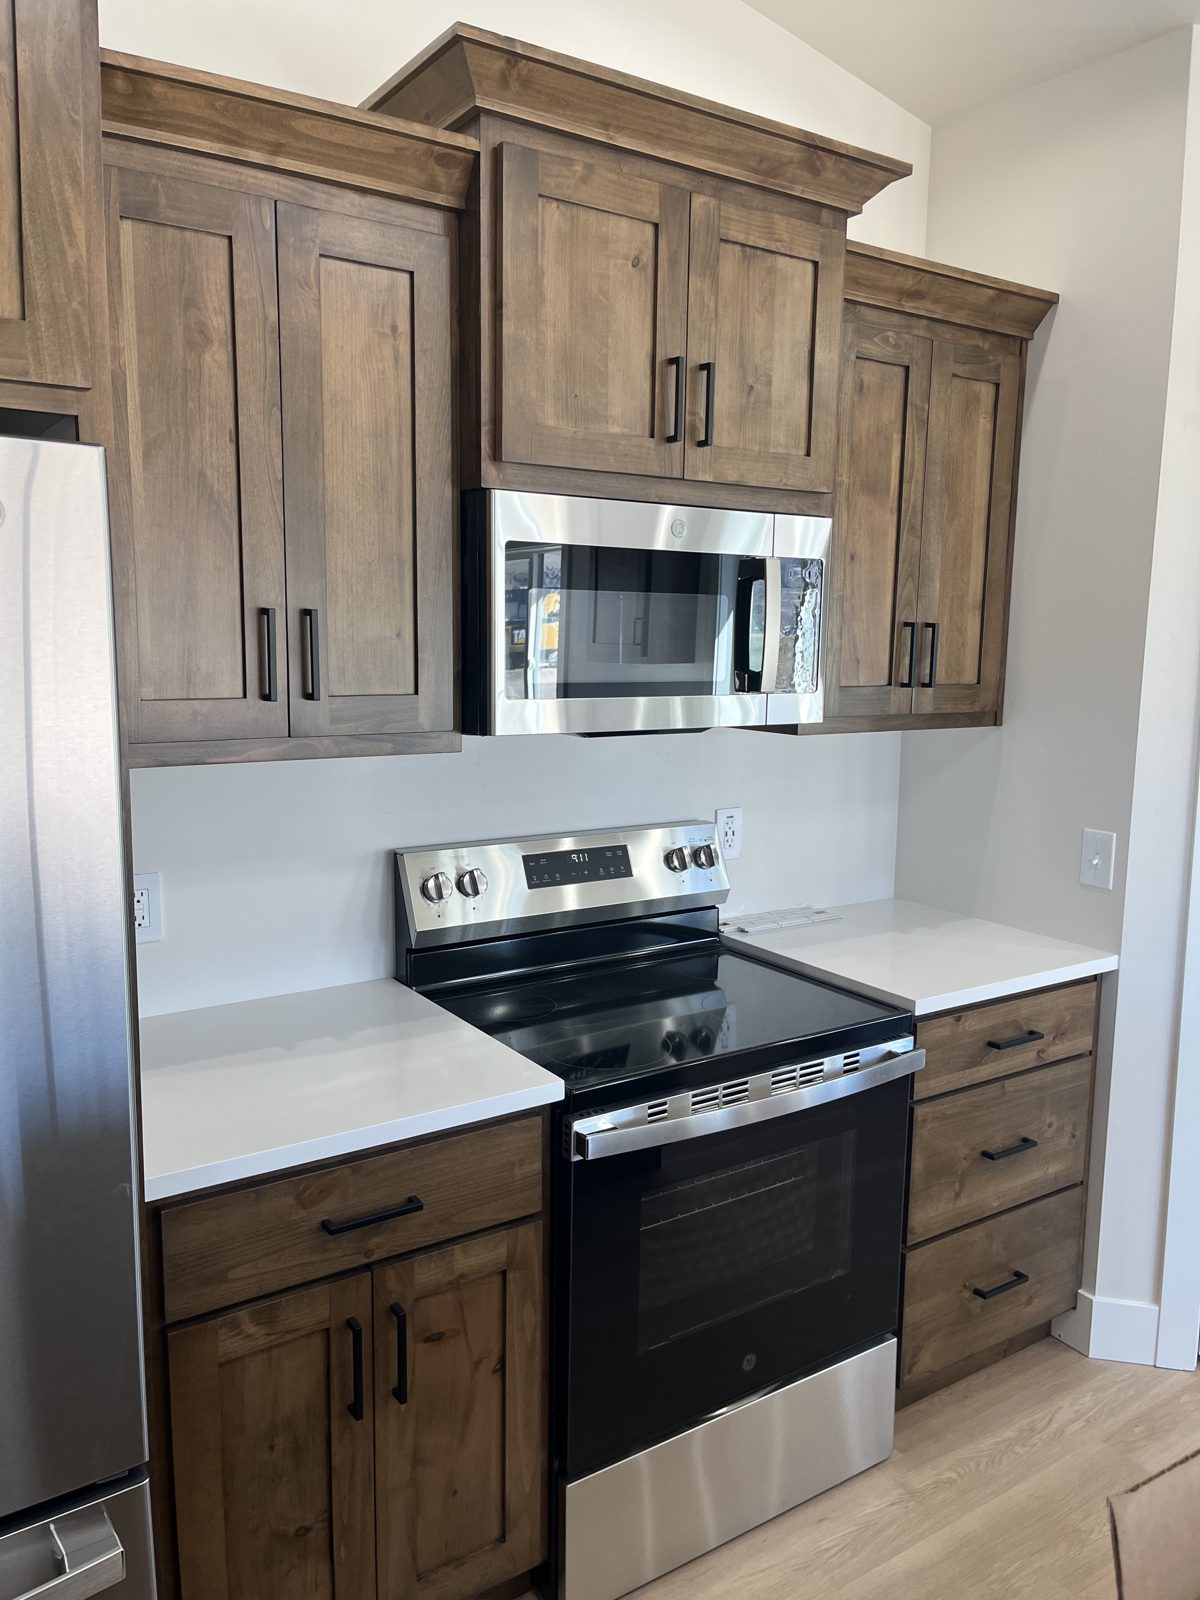
Finish work is where your selections come to life — flooring, cabinets, countertops, tile, fixtures, trim, doors and paint. This phase takes time because there are a lot of moving parts and trades working in sequence. It’s also the phase most affected by selection delays. Clients who have their selections locked in before this phase starts keep their build moving. Clients who are still deciding slow everything down.
Our advice — make your finish selections as early in the process as possible. Your builder will tell you exactly what needs to be decided and when. Getting ahead of those decisions is the single best thing you can do to keep your build on schedule.
Step 10 — Final Inspections and Punch List
As the build wraps up the building department conducts final inspections to confirm everything was built to code. Once inspections pass your builder does a final walkthrough with you — the punch list — identifying any items that need to be touched up or completed before closing.
A thorough punch list walkthrough is important. Take your time, bring a notepad and look at everything carefully. Your builder should be responsive to every item on the list before you close.
Step 11 — Keys
Once inspections are passed and the punch list is complete you close on your home and get your keys. The process is done. Everything from here is yours — built the way you wanted it, in the condition you specified, ready for your family to move in.
How Long Does the Full Process Take?
From first consultation to keys the timeline varies by build type:
- Custom home: 8-12 months from groundbreak — longer if the design and permitting phase is complex
- Semi-custom home: 4-6 months from groundbreak — faster because the floor plan already exists
- Spec home: Move-in ready — the build is already done
Read more about timelines in our full post: How long does it take to build a home in Idaho?
What Makes the Process Go Smoothly?
After 300+ homes built the answer is consistent: the builds that go smoothest are the ones where the client is prepared, decisive and communicative. Make your selections on time. Respond to your builder’s questions promptly. Trust the process and the people you hired.
On our end — we maintain active oversight on every build, coordinate trades tightly and communicate clearly at every phase. You’ll always know what’s happening on your build because we’ll tell you.
Ready to Start the Process?
Western Legacy Homes builds custom, semi-custom and spec homes across Southeast Idaho — Pocatello, Chubbuck, Idaho Falls and surrounding communities. The process starts with a free conversation.
Or call us directly: (208) 600-4839
Read more: How much does it cost to build a home in Idaho in 2026 · How long does it take to build a home in Idaho · Custom vs semi-custom vs spec — what’s the difference?